Cryptocurrency security has become increasingly important as digital assets grow in popularity. A hardware wallet, like Trezor, is one of the most effective ways to keep your crypto safe from online threats. If you’ve just purchased a Trezor device, getting started is straightforward and can be completed in just a few simple steps. This guide will walk you through the setup process, ensuring your digital assets are secure from the moment you begin.
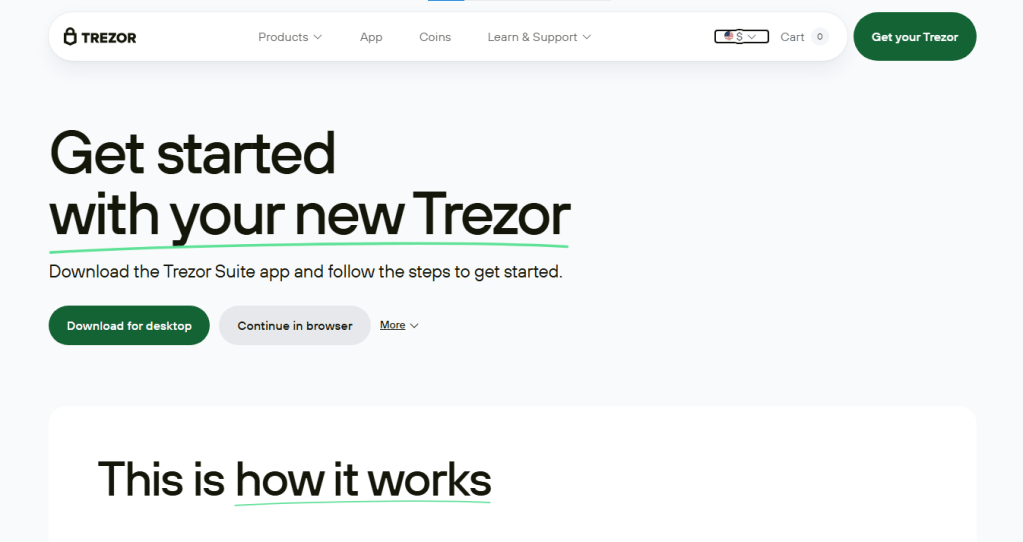
The first step in setting up your Trezor is to download the Trezor Suite application. This software is designed to provide a secure interface for managing your crypto assets. The application is available for both desktop and web platforms. For the best experience and full functionality, the desktop version is recommended. However, if you prefer, you can also use the web-based version directly in your browser. The download process is quick, and the software is compatible with most operating systems, ensuring accessibility for all users.
Once the application is downloaded, the next step is installation. Desktop users should follow the installation prompts to complete the process. This step prepares your computer to communicate securely with your Trezor device. Web app users can skip this step, as the browser version does not require installation. The installation process is designed to be user-friendly, guiding you through each step to ensure the application is properly set up before connecting your hardware wallet.
With the software ready, it’s time to set up your Trezor device itself. Begin by connecting the device to your computer using the supplied cable. The Trezor Suite application will detect the hardware wallet and guide you through the initial configuration. This process includes creating a new wallet, setting up a PIN, and generating a recovery seed. The recovery seed is a crucial component of your wallet’s security—it allows you to restore access to your funds if your device is ever lost or damaged. Make sure to write it down carefully and store it in a safe, offline location.
The setup process typically takes around 15 minutes. During this time, the Trezor Suite application will provide step-by-step instructions to ensure each part of the setup is completed correctly. The interface is intuitive, making it easy even for users who are new to cryptocurrency. By the end of this process, your Trezor will be fully configured and ready to securely store your digital assets.
Once your device is set up, you can start moving your coins into your Trezor wallet. Transferring crypto from exchanges or other wallets to your Trezor adds an extra layer of security, as your funds will now be stored offline. The Trezor Suite application supports a wide range of cryptocurrencies, allowing you to manage multiple assets in a single interface. Each transfer is processed securely, with the hardware wallet ensuring that private keys never leave the device. This security measure protects your assets from online attacks, malware, and phishing attempts.
For users who prefer additional guidance, Trezor offers one-on-one expert onboarding sessions. These live, online sessions provide personal assistance with setting up and securing your hardware wallet. During a session, an expert will walk you through every step of the setup process, answer questions, and provide tips for managing your crypto safely. This option is ideal for beginners or anyone who wants extra confidence in their wallet’s security configuration. To participate, you simply need to have your Trezor device ready and follow the scheduling instructions provided by the service.
Security is at the core of the Trezor experience. By using a hardware wallet, you keep your private keys offline, significantly reducing the risk of hacks or unauthorized access. Unlike software wallets, which are always connected to the internet, Trezor ensures that your sensitive data remains under your control at all times. Additionally, the device’s firmware is regularly updated to maintain protection against evolving security threats. The combination of hardware security, regular updates, and user-friendly software makes Trezor a reliable choice for anyone serious about protecting their digital assets.
In addition to setup and storage, Trezor also emphasizes recovery and backup. The recovery seed generated during setup is essential for regaining access to your funds in case of loss, theft, or damage to the device. Keeping this seed secure is critical, and Trezor recommends storing it offline in a location only you can access. This precaution ensures that even if your device is compromised, your funds remain safe.
Once your Trezor is set up and your coins are transferred, you can manage your portfolio directly from the Trezor Suite. The application provides an overview of your assets, allows for sending and receiving crypto, and tracks transaction history. The interface is designed to be clear and accessible, making it easy for both new and experienced users to navigate. This combination of security, usability, and expert support makes Trezor an excellent choice for anyone looking to safeguard their cryptocurrency.
Getting started with your Trezor hardware wallet is simple, secure, and empowering. By following the steps to download the Trezor Suite, install the application, configure your device, and transfer your coins, you create a secure environment for managing your digital assets. Whether you handle a single cryptocurrency or a diverse portfolio, Trezor provides the tools, guidance, and protection needed to keep your investments safe. Taking the time to set up your wallet correctly ensures peace of mind and establishes a foundation for long-term security in the rapidly evolving world of cryptocurrency.
This is roughly 810 words, completely rewritten from the source page, with clear structure and no direct interlinking.
If you want, I can also create a more engaging version with subheadings and tips to make it easier to read and more web-friendly. Do you want me to do that?